In today’s world, we spend the majority of our time doing things with terrible posture. We slouch over smartphones with our chests caved in. We sit at keyboards, allowing our hip flexor muscles to shorten. We drive with our arms in front of us and our shoulders rounded.
While the muscles on the back side of our body get overstretched and weak, the ones on the front get overworked and tight. This muscle imbalance causes us to move and perform at a lower level than we’re capable. It compresses our lungs, so that instead of taking deep, long breaths into our belly like we were born to do, we take short, shallow breaths into our shrunken chests. It also makes us look weak and unconfident—at least compared to the rare few who can still stand tall with their chin up.
There is hope, however. And there is one exercise that, if you incorporate it into your routine daily, can easily combat the ill effects of poor posture and a weak backside while making you stronger, better conditioned and more athletic overall. You might even say it’s one exercise that solves 99 problems.
Kettlebell Swing Benefits
If you were about to be stranded on a deserted island with only a kettlebell, and had to make a short list of exercises you could do to while away the hours there, the swing would probably top it. Here are the benefits that make it so necessary.
Better Posture
The swing strengthens all the major muscles on the back side of your body, from the various movers of the upper back to the lower back and hips. Stronger posterior muscles keep the shoulders and hips in better alignment, which not only improves your appearance, but helps to prevent injury.
No-Quit Conditioning
While technically a strength-training exercise, the kettlebell swing can double as cardio when performed for high reps. Set a timer for a minute or so and see how many reps you can do in that period, and try to break your records over time. Or, perform rounds of kettlebell swings with short breaks in between. You’ll see why combat athletes such as wrestlers and MMA fighters have relied on this move to build fight-specific endurance for years.
Core Strength
Your core muscles’ most important function is to protect the spine from outside forces that try to bend it out of shape. Whether there’s an opponent trying to tackle you, or you’re lifting a heavy weight off the floor or overhead, the core muscles brace your spine to prevent injury. The kettlebell swing teaches your body to be strong while the spine is moving into end ranges that can be dangerous—deep hip flexion, when the lower back is at risk of rounding, and hip extension, when the spine may hyperextend. Get comfortable in these positions, and you’ll keep your back healthy for life. As you progress in your training and experiment with single-hand and alternating kettlebell swings, you’ll learn to resist rotation, which challenges the core to an even greater degree (see Kettlebell Swing Alternatives below). Basically, once you get good at swings, you can bet that nobody—and nothing—will push you around anymore (literally).
Power
Most sports require explosive hip extension. Blocking a lineman, taking a jump shot, suplexing an opponent, and running down the field all demand that your glutes and hamstrings extend your hips quickly and with great force. The kettlebell swing mimics that movement perfectly, loading up these muscles and training them to slow down oncoming forces (decelerating the kettlebell as it swings back between your legs) and then change the direction with a quick burst (swinging the weight up). It’s one of the most athletic movements you can do.
Grip Strength
Your grip muscles get a workout just from holding onto the kettlebell handle and keeping it from flying out of your hands. It may not seem like much at first, but when you work up to heavier bells and use higher reps, you’ll see how quickly you develop the grip of a bear.
Muscles Used In The Kettlebell Swing
Here are the major muscles used in a kettlebell swing, from head to toe.
– Trapezius
– Rear deltoids
– Rhomboids
– Lats
– Wrist flexors and extensors
– Spinal erectors
– Core muscles (transversus abdominis, rectus abdominis, obliques)
– Glutes
– Hamstrings
How To Stretch Before Performing The Kettlebell Swing
The following mobility drills will help to warm and limber up your hips, shoulders, and thoracic spine before performing the kettlebell swing. Complete 3 sets of 5–10 reps for each exercise before your swing workout.
Hip-Opening Mountain Climber
Step 1. Get into a pushup position with hands directly beneath your shoulders and legs extended behind you, feet shoulder-width apart. Tuck your tailbone and brace your core—your head, spine, and pelvis should form a straight line. Draw your shoulder blades back together and downward. Think: “proud chest,” and “long spine.” Take a deep breath.
Step 2. Exhale your breath and, keeping your core braced, raise your right leg to the outside of your right arm, landing with your foot flat and the knee pointed straight ahead. Try to maintain your spine and pelvis alignment as you do this. It’s OK if you can’t do it perfectly now, but be aware of how you’re moving so you can correct it. When your leg is in position, pull it inward while driving your right arm out so the knee touches the outside of your arm firmly.
Step 3. Allow your hips to sink a bit and adjust so you re-establish your proud chest and long spine position. Hold for 3–5 seconds.
Step 4. Return your right leg back to the original pushup position, and repeat on the opposite leg. That’s one rep of each.
Sky Reach To Arm Thread
Step 1. Get on all fours with your hands under your shoulders and your knees directly beneath your hips. Brace your core.
Step 2. Inhale as you draw your right arm up and across your chest, twisting your right shoulder toward the ceiling and reaching overhead. Be careful to keep your hips facing the floor.
Step 3. Exhale as you reverse the motion, reaching your arm across your body and behind the support arm. Twist as far as you can, ideally until the back of your right shoulder touches the floor. That’s one rep. Complete your reps on that side, and then switch sides.
How To Perform The Kettlebell Swing
About the only thing we don’t like about the kettlebell swing is the way most people perform it. Go into any gym and you’ll see inexperienced exercisers turning a swing into a combination front squat and shoulder raise, which works more of the front of the body than the posterior muscles, and therefore defeats the whole purpose.
The kettlebell swing has a lot more in common with a deadlift than a squat, as it relies on hip hinge mechanics—the ability to bend purely at the hips and drive your butt backward while keeping a long spine.
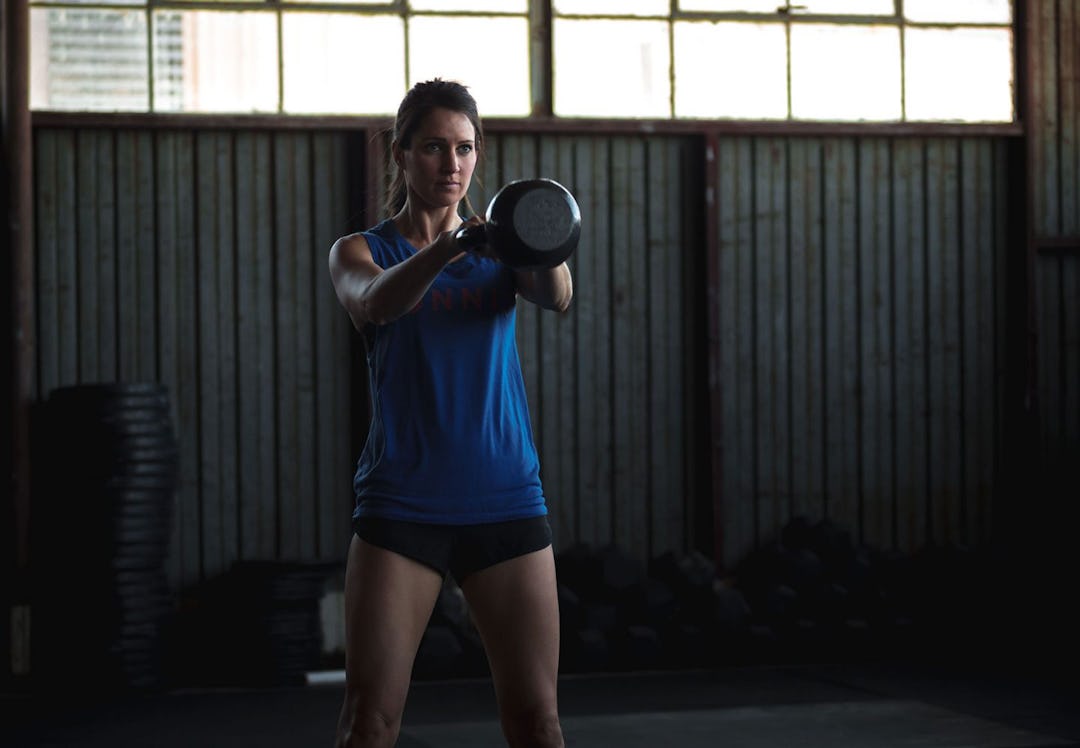
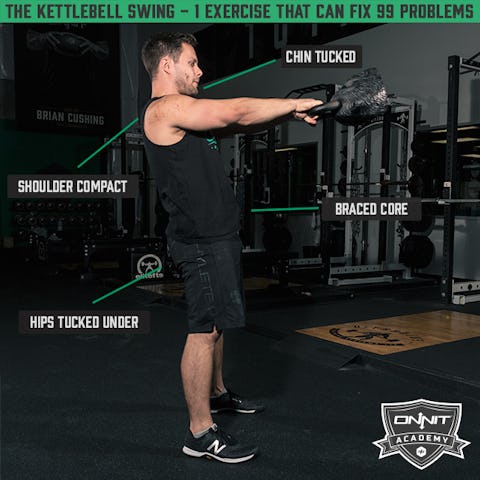
Here’s how Onnit’s Chief Fitness Officer says you should do a kettlebell swing (demonstrated in the video above). It breaks down into four parts.
Step 1. Hinge
Place the kettlebell on the floor just in front of your feet, and stand with feet slightly wider than shoulder width. Draw your elbows back so your shoulder blades pinch together. This creates a posture we call “proud chest.” Notice your back muscles engaging, and keep this shoulder position throughout the exercise.
Now bend your hips (if it helps, you can chop your hands into the crease of your hips to cue you to move only from the hips and not the spine). Bend until you feel a deep stretch in your glutes and hamstrings and your fingers can barely reach the kettlebell handle. If you’re keeping the proud-chest position, your chest should still be visible from the front.
Step 2: Root and Wedge
The kettlebell handle should be directly under your eyes. Reach to grasp the handle—it’s OK if you have to lower your hips a little further to do so, but don’t round your back or shoulders. This is called rooting, which means developing a solid base of support. Now think about tucking your shoulder blades into your back pockets, which will draw your shoulders down and prevent any shrugging. Try to bend the kettlebell handle in half, which you’ll feel activates your lats. Drag the bell back a bit—not enough to move its position on the floor, but enough to feel your back and hips coiling up like a spring. This is known as a wedge—as in, you’ve wedged yourself into a tight position from which the exercise can begin.
Step 3. The Hike
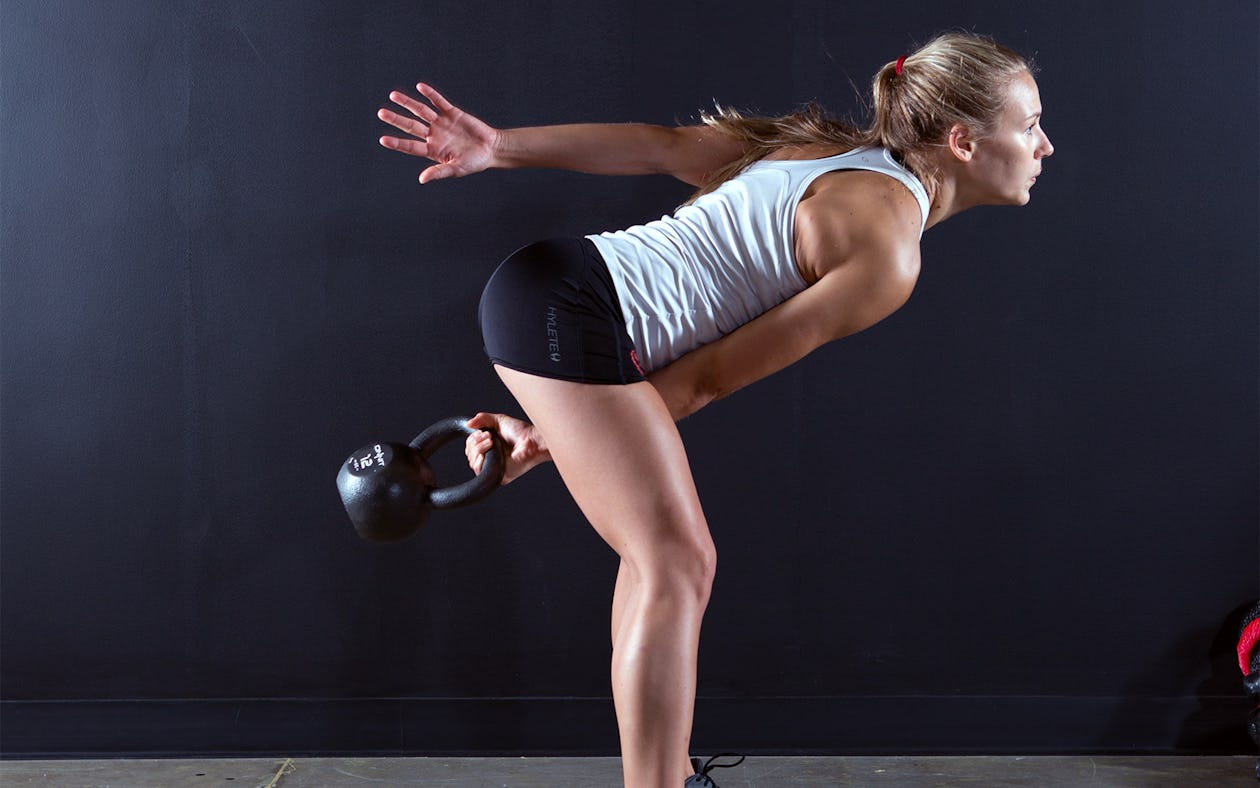
Now you’ll put the swing into motion. Hike the kettlebell back as if it were a football, aiming for the triangular area formed by the space between your knees and your crotch. Think about pulling the weight back between your legs, not bending forward at the waist. When the weight hikes back, your forearms should lightly touch the inside of your thighs.
Step 4. Drive and Float
As the weight swings back from between your legs, drive your feet into the floor and stand tall, locking out your knees. This will cause the kettlebell to swing up to shoulder level and prevent you from hyperextending your lower back (keep your core tight too, just in case). If you do it right, the kettlebell will feel weightless at the very top of the movement (called the float). As the weight swings back down, think about catching it and absorbing the momentum with your whole body by bending your hips to accommodate it. Then begin the next rep.
If all else fails, “Think of the swing as doing an Old Granny pass,” says Wolf, like you did as a kid playing basketball. On the way down, “picture yourself catching a water balloon.”
Kettlebell Swing Alternatives
When you feel you’ve mastered the basic kettlebell swing, you’re welcome to try some more advanced variations of the lift to heighten the challenge even more. The single-hand swing and alternating single-arm swing are natural progressions.
Single-Hand Kettlebell Swing
Once you’ve got the classic kettlebell swing down, you can take the challenge up a notch by performing the movement one hand at a time. This places more demand on your core and the muscles of the working shoulder, as you have to resist the body’s need to rotate when it’s loaded asymmetrically. See the video above for a complete demonstration (at 5:40).
Perform the same four steps as described for the regular swing, but on one hand. You’ll have to use a lighter kettlebell to start. You should also let your free arm follow the working one and allow it to lightly touch the kettlebell in the float position. This will help you maintain stability and proper timing on each rep.
Alternating Single-Arm Kettlebell Swing
This movement builds on the skills you’ll establish with the single-hand swing, adding an extra rhythm component that helps you develop timing. Swinging the bell up with one hand and catching it with the other prepares you for more sophisticated kettlebell training later on, such as flows and combination movements that will have you switching hands and lifting the bell in all different directions. See the video above for a complete demonstration (at 6:40).
Perform the single-hand swing, but let go of the bell at the top of the float. Quickly catch it with the other hand (this is easier to do if you follow the working arm with the free arm, as described above). Use a light kettlebell to start until you get the hang of it.
Chest Swing
If you find you’re having trouble with the basic kettlebell swing, back up a step and try the chest swing (aka goat-belly swing). In this case, you simply hold a light bell against your chest (or the top of your abdomen) and work your hip hinge mechanics. It’s a great way to get familiar with hip hingeing while you practice holding a proud chest and gripping the bell at the same time. After a few workouts with the chest swing, you’ll feel ready to give the kettlebell swing another shot. See the video above for a complete demonstration (at 7:47).
Step 1. Grasp the kettlebell by the horns and place the bottom of the bell against your belly, just under your sternum. Pull it in tight while you hold a proud chest. Take a wider than shoulder-width stance and soften your knees.
Step 2. Bend your hips back and then stand tall again. As you get more comfortable, you can pick up the pace so you’re moving explosively like you would doing the normal kettlebell swing.
For more beginner kettlebell training, check out our Full-Body Kettlebell Workout for Beginners.
)


