Abigger, firmer, rounder, and fuller-looking butt doesn’t always come from barbell squats and deadlifts alone. You can develop your glutes training at home—whether you’re a man or a woman—with just your bodyweight and an exercise band. Use these bodyweight glute exercises and stretches to get the gains you want.
Key Takeaways
1. The glutes are the most important muscles for full-body power, and a strong set will make you more athletic.
2. Warm up for a bodyweight glute workout by stretching your hip flexors and performing lateral band walks.
3. The hip thrust is a powerful glute-max exercise. Be careful not to hyperextend your lower back as you lock out your hips.
4. Kickbacks can work the glute max or the glute medius, the muscle on the side of your posterior.
5. The hip thrust and glute bridge are similar exercises that both work the glute max, but the bridge uses a shorter range of motion while offering more isolation.
4 Great Glute Exercises For Building Your Butt
(See 02:54 in the video above.)
The following bodyweight glute exercises come highly recommended by Juan Leija, an Onnit-certified coach and co-founder of Onnit Gym in Austin, TX (@juannit247).
1. Bodyweight Hip Thrust
Sets: 3–5 Reps: 8–12
(See 02:58 in the video.)
Step 1. Lie against a bench perpendicularly, so your shoulder blades are supported on the edge. Place your feet on the floor so that they’re in line with your hips. Your hips and knees should be bent about 90 degrees. Tuck your tailbone slightly so that your pelvis is perpendicular to your spine, and brace your core like you were about to get punched in the gut. Tuck your chin to your chest and drive your elbows into the bench for extra stability.
Step 2. Drive through your heels to raise your hips until they’re locked out. Be careful not to go so high that your lower back arches—stop when your hips and torso are level with the floor.
If 8–12 reps isn’t challenging enough with your bodyweight alone, you can increase the rep number to as high as 25. “Four sets of 25, or 100 total reps, would give you a killer glute workout,” says Leija. Another way to make the hip thrust more challenging with bodyweight alone is to do it one leg at a time. See our guide to the B-stance hip thrust.
The hip thrust, popularized by Bret Contreras, author of Glute Lab, works hip extension, the glutes’ primary function. While its mechanics are similar to that of a squat or deadlift, the hip thrust better isolates the glutes (although the quads and hamstrings are still involved to a degree).
2. Banded Glute Bridge
Sets: 3–5 Reps: 12–15
(See 04:39 in the video.)
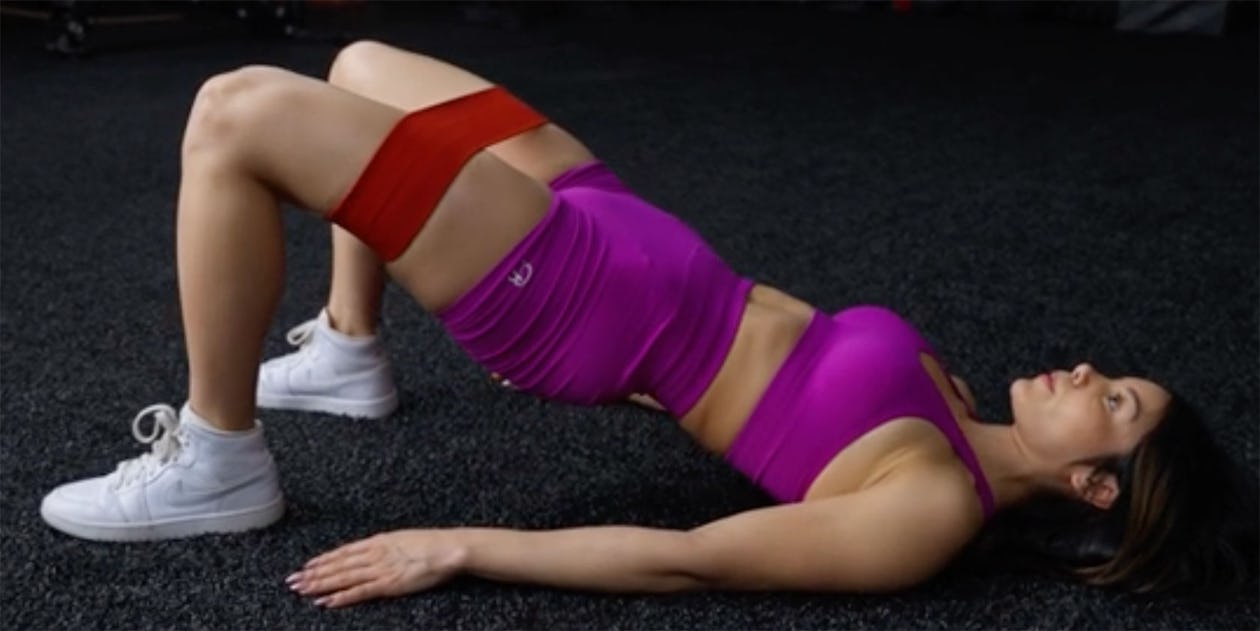
Step 1. Place a circular resistance band just above your knees and lie on the floor with your hips and knees bent about 90 degrees. Place your feet in line with the hips or slightly wider so there’s tension on the band. Tuck your tailbone under and brace your core.
Step 2. Drive your legs apart to put more tension on the band. Now extend your hips to lockout as you did in the hip thrust.
The banded glute bridge trains two of the glutes’ functions simultaneously: moving the legs out to the sides and hip extension. “Be careful with your foot position,” says Leija. “The advantage of a glute bridge is the way it isolates the glutes. If your feet are placed too far forward, you’ll bring more of the hamstrings into it. If your heels are too far back toward you, you’ll use more quads,” and that defeats the purpose.
As with the hip thrust, if 12–15 reps doesn’t fatigue your glutes, take the reps up as high as 25. You can also do the glute bridge without a band and using one leg at a time, as we explain in our article guide to the single-leg glute bridge.
3. Banded Kickback
Sets: 3–5 Reps: 12–25 (each leg)
(See 06:51 in the video.)
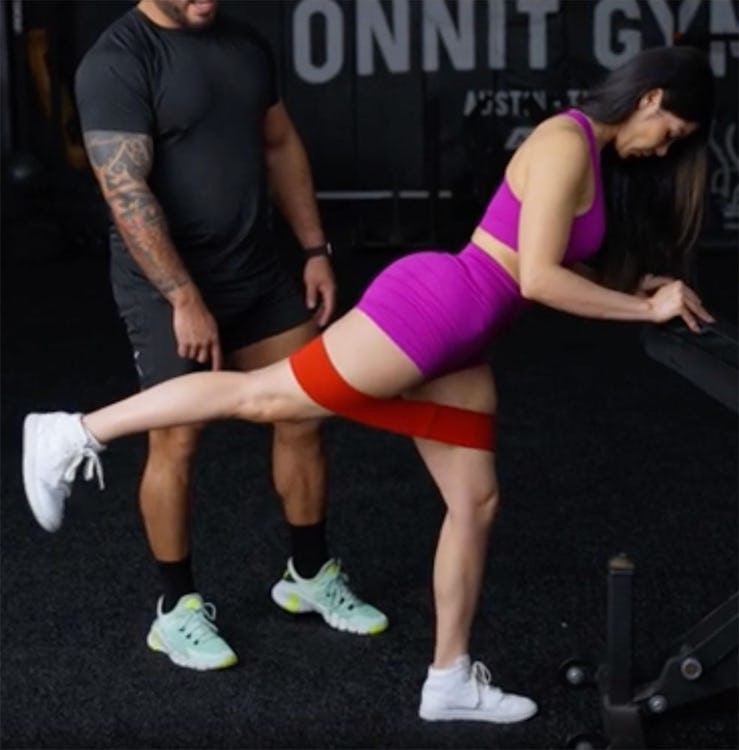
Step 1. Loop a circular resistance band around your feet and slide it to just above your knees. Stagger your stance so one leg is in front of the other. Grasp onto a bench or other sturdy object for balance, and bend your hips back about 30 degrees while keeping a long spine. Bend your front knee slightly. Brace your core.
Step 2. Kick your rear leg straight back until your glute is fully contracted, and control it on the way down. Keep tension on the band at all times.
The kickback trains the glutes in hip extension just as the hip thrust does, but one side at a time. This allows you to get a little extra range of motion for more muscle recruitment. You can also aim your leg 30–45 degrees from your side as you kick back to put more emphasis on the glute medius muscle (the side of the butt cheek).
4. Sumo Pulsing Squat
Sets: 3–5 Reps: 10–20
(See 08:16 in the video.)
Step 1. Stand with feet outside shoulder width and your toes turned out about 30 degrees.
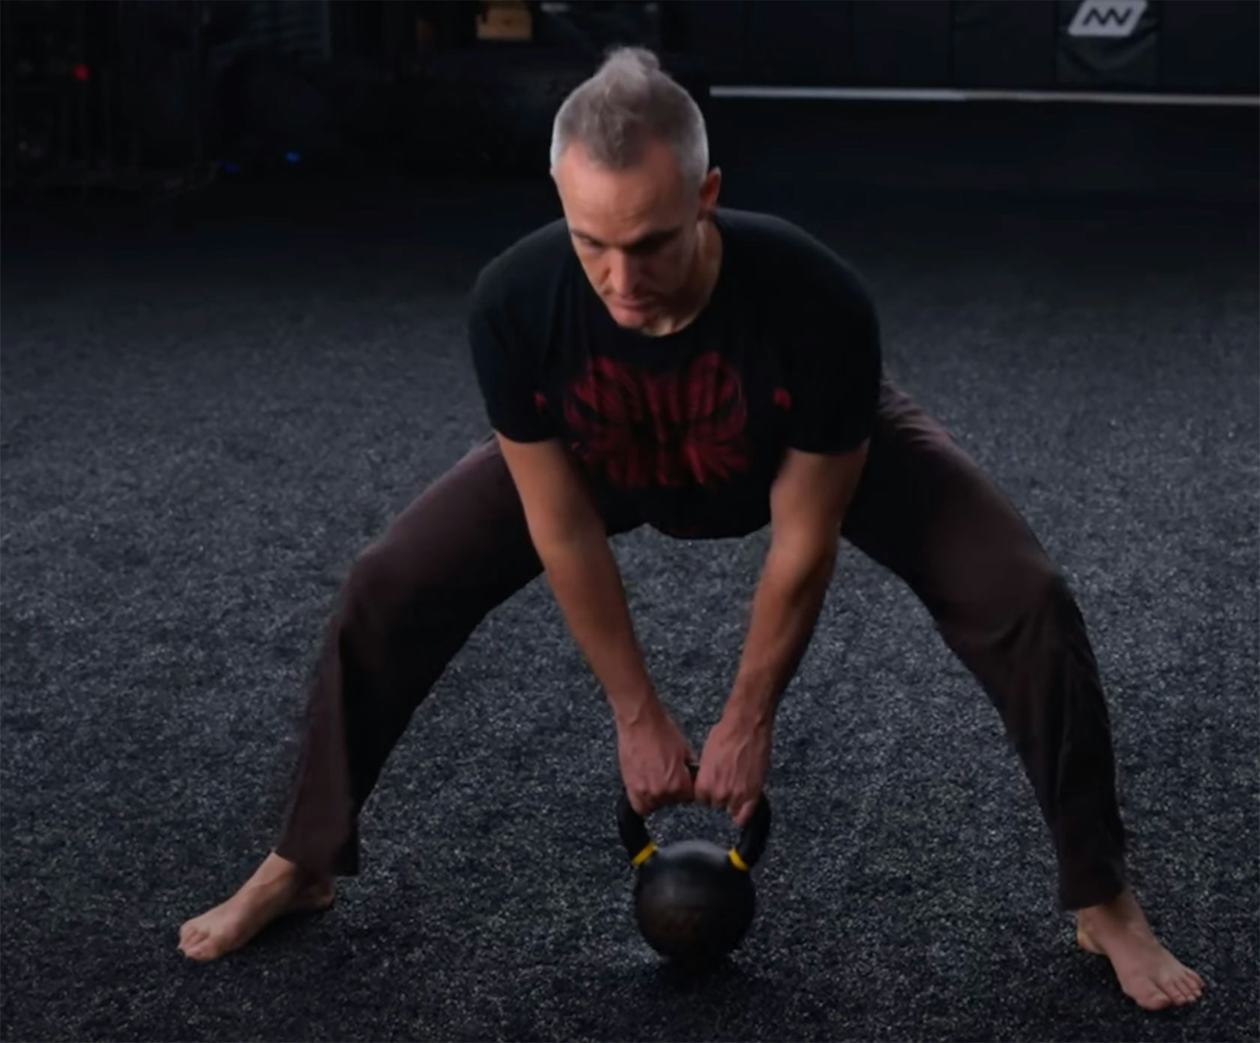
Step 2. Bend your hips back and squat as low as you can without your pelvis tucking under. Drive your knees out as you descend, and keep your torso as upright as possible (people should be able to see the logo on your T-shirt).
Step 3. Come back up about three quarters, and lower your body back down. Finish by coming back up to standing. That’s one rep.
“The glutes lose tension toward the top of a squat,” says Leija, “so spending more time in the bottom half of the movement keeps the glutes working where they work hardest.”
How To Stretch Your Glutes
(See 00:26 in the video.)
Warming up your hips on the front and sides will help reduce the risk of injury in your workout and may help you to feel your glutes better when you train them. Research has shown that being able to mentally connect to the muscles you’re working during an exercise may help to promote muscle recruitment and boost the results you see.
Leija recommends these two drills.
1. Hip Flexor Mobilization
(See 00:31 in the video.)
Step 1. Kneel on the floor with one knee. Both hips and knees should be bent 90 degrees. Now tuck your tailbone under so your pelvis is level with the floor. Brace your core.
Step 2. Shift your weight forward, moving your front knee past your toe, until you feel a stretch in the front of the hip on the back leg. Keep your hips and shoulders facing forward. Your front foot must also stay flat on the floor. Rock your weight back to the starting position and repeat for 2–3 sets of 5–10 reps on each side.
“Avoid leaning back and arching your back,” says Leija. “Keep your core engaged. Otherwise you’ll get the range of motion from your back and not your hip, which is the goal.”
2. Banded Lateral Walk
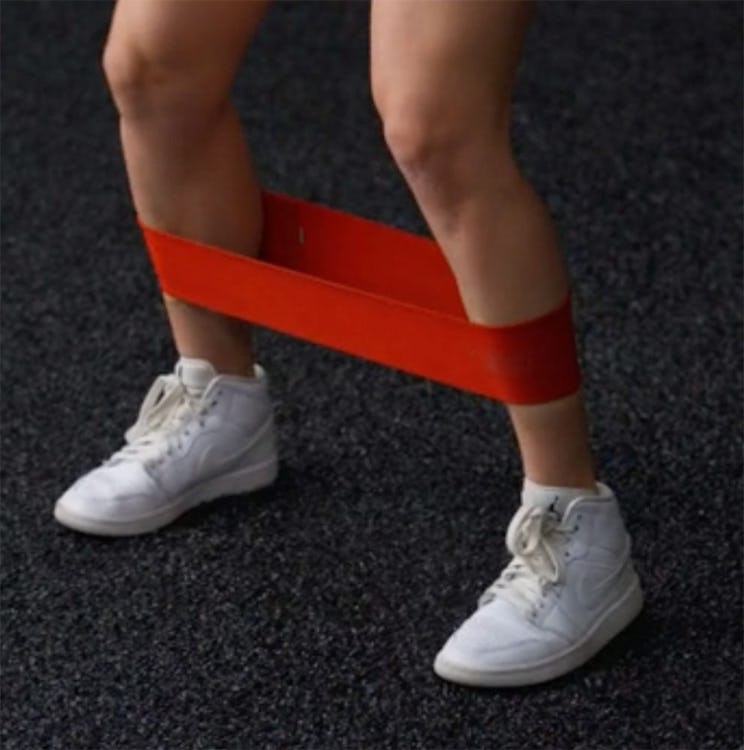
(See 01:41 in the video.)
Step 1. Loop a circular exercise band around your feet and pull it up to the thickest part of your calves—but if you feel more glute activation with it at your ankles or knees, try it there instead. Place your feet hip-width apart or wider, so that you put some tension on the band and feel your glutes starting to work.
Step 2. Hinge your hips back and bend your knees so you’re in an athletic stance—think: ready to catch a ball, tackle an opponent, or jump up in the air. Take a small step to your right, keeping your foot facing straight forward (don’t let your toes turn outward).
Step 3. Step your trailing foot in toward your lead foot so you’re back in a hip-width stance. Keep walking in that direction, keeping tension on the band the whole time. (If your feet come too close together, the band will go slack and your glutes will get to rest). Walk 5–10 yards each direction—that’s one set. Do 3 sets total.
Bridge Vs. Hip Thrust
(See 10:44 in the video.)
Many people use the terms “bridge” and “hip thrust” interchangeably when discussing glute training, but this isn’t accurate. Leija points out that while a hip thrust is intended to target the glutes very directly, it also works the hamstrings and quads to a certain degree, mainly because the range of motion is large. The glute bridge, on the other hand, uses a short range of motion (your back is on the floor, so you don’t have as far to extend your hips versus when you’re supported on the bench). As a result, the bridge won’t challenge all your glute muscle fibers, but it takes the hamstrings and quads out almost completely, better isolating the glute fibers it does hit. So the glute bridge is, arguably, a better option for mucle gain/physique transformation. Meanwhile, “the hip thrust is better for training hip explosion,” says Leija, making it the smarter choice for athletic applications (i.e., if you’re an athlete, you should probably spend more time thrusting than bridging).
Ultimately, both are solid exercises and build muscle and strength in the glutes, so use them in combination.
Benefits of Working Out Your Glutes
(See 00:15 in the video.)
The glutes are the most powerful muscles in your whole body. They’re also the biggest (the glutes are dense, so they may not look as broad as your quads or lats, but if you could flatten them out on the floor you’d see they’re huge). In day- to-day life, the glutes allow you to stand up, walk upstairs, and pull things up off the floor, so strengthening them is key for keeping quality of life as you get older. If you’re an athlete, “strong glutes help you run faster, jump higher, and lift more weight,” says Leija.
Since you’re reading this article, you’re probably also aware that the glutes are very aesthetic, sexy muscles, and that training them is one of the biggest trends in fitness. Unless you descend from the same gene pool as Jennifer Lopez or Kim Kardashian, the only way you’ll be able to get a rear that looks half as fine will be to build it with exercise—hence the reason we put this article together.
